Welcome to leavesnbloom ...the home of nature photography by Rosie Nixon
Capturing the natural beauty of plants and wildlife
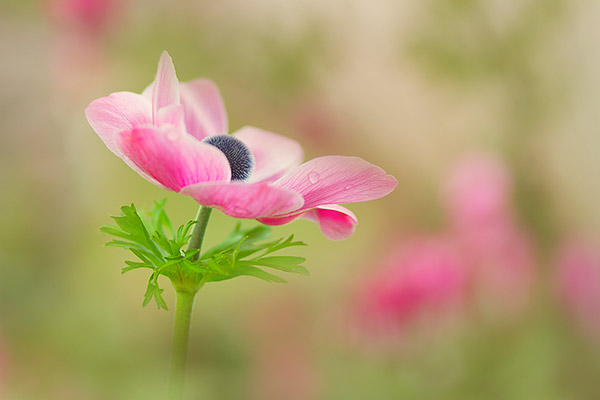
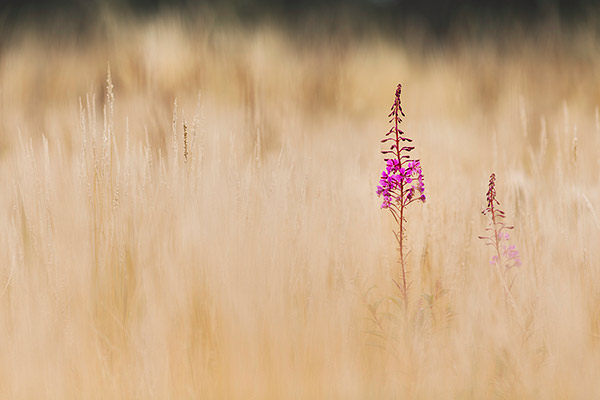
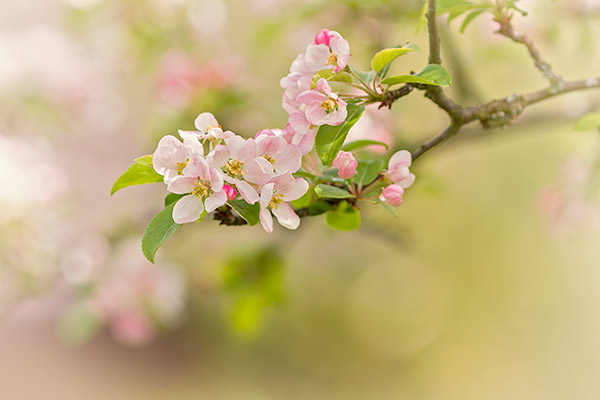
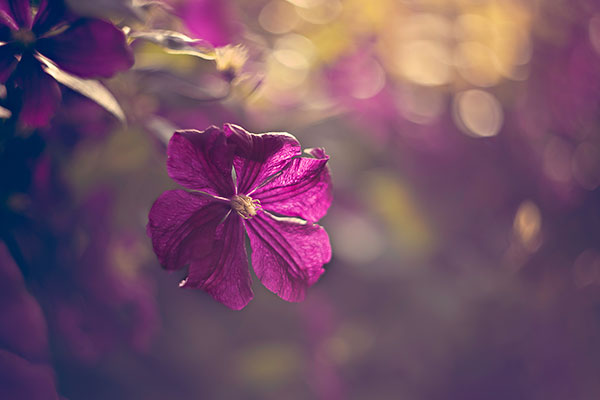
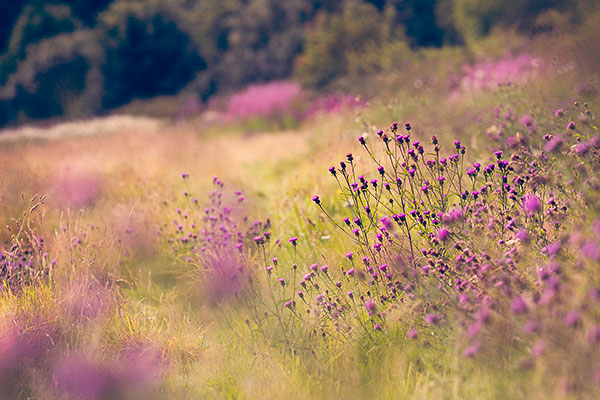
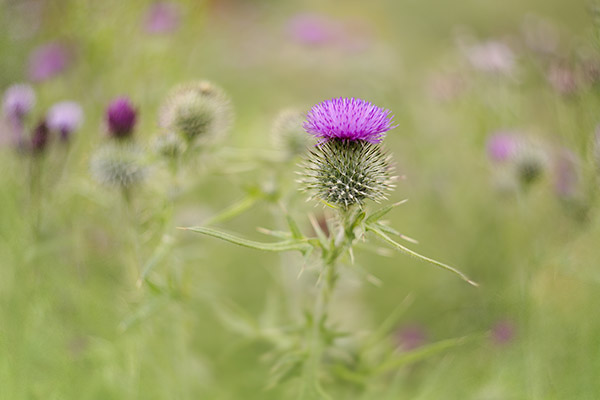
My name is Rosie Nixon and I'm the lady behind the lens at leavesnbloom. I'm a photographer, writer and nature lover, previously based in Perthshire, Scotland, but now in Northern Ireland, Here you'll find intimate landscapes, wildflowers, native plants, garden flowers and foliage like you've never seen them before!
My work has featured in national newspapers as well as on TV on BBC2's The Beechgrove Garden. You can view many of my images at Close Gallery, 4b Howe Street, Edinburgh.
I’m distracted very easily from doing the weeding! If it buds, flowers, hovers, flutters or crawls then you can be sure that I’ll be out with the camera taking shots from every angle. Indeed …just soaking up and enjoying nature through my lens. I love to capture the intimate details of creation. From flowers and foliage in gardens, then extending into the natural beauty of the countryside and beyond. I use the great outdoors as my natural light studio, and I enjoy telling a story through my photography as I capture nature through all its stages …from beauty to decay.
My work is available for license and as prints. I also supply a selection signed limited edition fine art prints.
I Grow Images!